
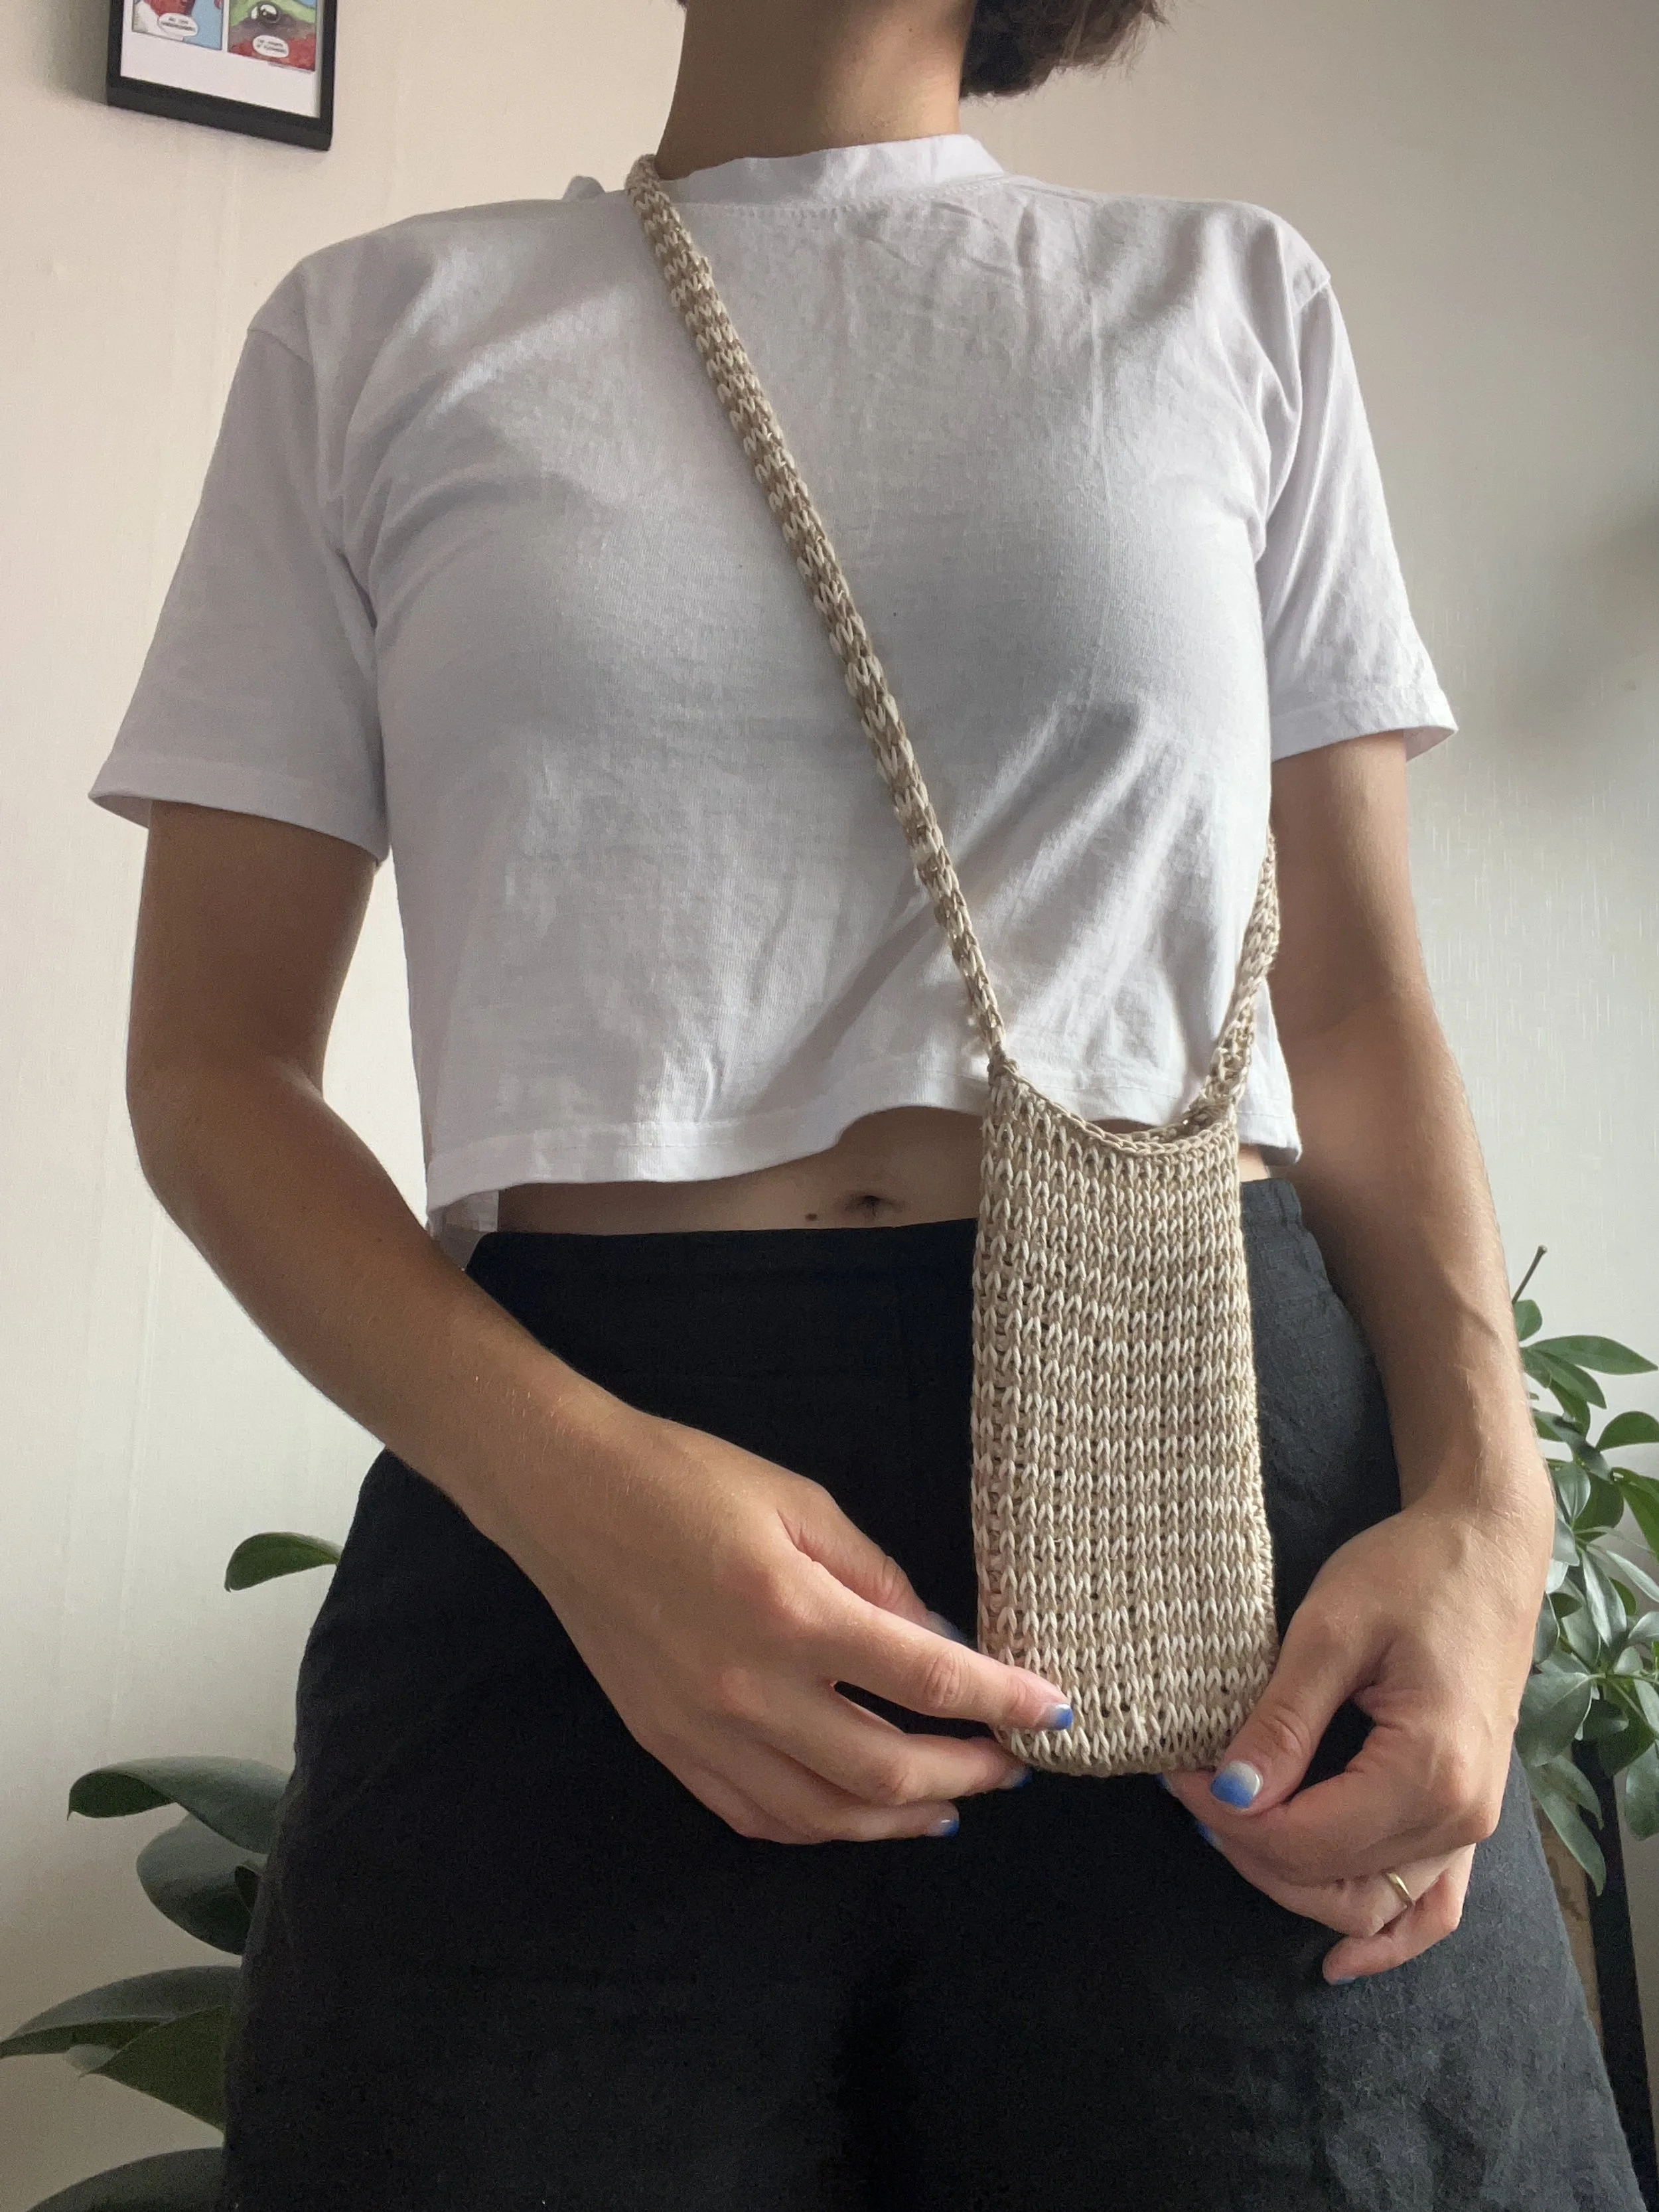
Hold my Phone: Free Tunisian Crochet Phone Bag Pattern and Tutorial

The Hold My Phone Bag was born because of the frustration I felt during my commute on the train when I had to rifle through my backpack to find my phone. I wanted something that I could easily access and looked chic but was sturdy enough to hold my phone. So I decided that a Tunisian knit stitch striped phone bag would be the perfect solution.
This Tunisian crochet phone bag is great for pocketless outfits — and for using up all that scrap yarn.
description
The Hold My Phone Bag uses Tunisian Knit Stitch and is constructed of two separate panels that are joined together using a single crochet seam. The strap is crocheted directly onto the bag.
Special stitches
Materials
5 mm Tunisian Crochet Hook (or regular steel hook)
Less than 50g of DK/ Weight 3 yarn for each color
Tape measure, scissors, and darning needle for ends.
Abbreviations
TKS Tunisian Knit Stitch
ch(s) Chain(s)
st(s) Stitch(es)
sc Single crochet
RS Right Side
WS Wrong Side
Yo Yarn over
C1-3 Colors 1-3
Pattern notes
This pattern is written in U.S. terminology.
The first loop on your hook counts as your first stitch.
Before seaming your panels together, make sure the TKS stitches are facing the same direction.
You can use any weight yarn for this pattern, but you will need to change your hook size. Always go up one hook size from the recommended hook size on the yarn label.
Measurements
A: Take the circumference of your phone, then divide it by half. The number you get will be the measurement you’ll need for the width of each panel.
B: Measure the length of your phone. You can add a few centimeters/inches to allow for some extra room.
Check out the full video tutorial to help you along with the written pattern.
The Pattern
Part 1: Panels
You will need to make two identical panels.
Step 1: With C1, Make a slip knot on your hook. Ch until you reach the desired length for measurement A. Return pass, but leave two loops on your hook. With C2, pull through the last two loops on your hook.
Step 2: With C2, place 1 TKS in each st across. In the last st, insert your hook into the space (not in between the two bars like tks) and pull up a loop. Return pass, but leave two loops on your hook. With C2, pull through the last two loops on your hook. With C3 (or C1 if you’re only using two colors), pull through the last two loops on your hook.
Step 3: With C3, place 1 TKS in each st across. Work your last st the same as Step 2. Return pass, but leave two loops on your hook. With C2, pull through the last two loops on your hook. With C1 (or C2 if you’re only using two colors), pull through the last two loops on your hook.
Continue to place 1 TKS in each st across and change colors at the end of the return pass until you’ve reached your desired length for measurement B.
Note: on your last TKS row, make sure your tension isn’t too loose. We do not want any holes for the last bind off row
Step 4 (Bind Off Row): Place 1 sc into the space where you’d normally place a TKS. Continue to place 1 sc in each TKS space across. Fasten off and secure with a knot.
Part Two: Seaming Panels
Step 1 (left side of the panels): Choose any color yarn and make a slip knot on your hook. With RS facing together (WS facing you), insert hook into the top left corner st of both panels (top right if you’re left handed). Yo, pull up a loop. Yo, pull through two loops (first sc st made). Place 1 sc st in each st across the panel. Ch 1 at the end.
Step 2 (bottom portion of the panels): Place 1 sc in each st across the bottom panel. Ch 1 at the end.
Step 3 (right side of the panels): Place 1 sc in each st across the right side of the panel. After the last st, fasten off and secure with a knot.
Part 3: Making the strap
Here I’m not going to specify which color to use. You can continue the same color pattern from the panels.
Step 1: Turn your work right side out (RS facing you). Find the center of the sc seam, and join your yarn 2 stitches to the left (2 stitches to the right if you’re left handed). *Insert your hook into the next st, pull up a loop.* Insert your hook into the sc seam, pull up a loop. Repeat from * to * two more times for a total of 5 sts. Return pass, leaving two loops on your hook. With the next color in your pattern, pull through the last two loops on your hook.
Step 2: Place 1 TKS in each st. Work your last st like we did in Part 1. Return pass, but leave two loops on your hook. With the next color in your pattern, pull through the last two loops on your hook. (5 sts)
Continue to repeat Step 2 until you’ve reached the desired length for your strap. I made mine about 90 cm long.
Step 3: Turn your work inside out (WS facing you). Make sure your strap is straight. Seam the end of your strap to the corresponding side of your bag using a single crochet seam.
Fasten off, sew in all ends.
If you’re on instagram, tag me @justtheworsted and use #holdmyphone_jtw so I can see your finished makes!